When we moved into our home, I was so excited about this small closet right inside the laundry room. I figured it would be a great place to store cleaning supplies, and act as a sort of second pantry. In its original condition, it had 2 small wired shelves, that held…honestly, next to nothing. So everything piled up on the floor. I started avoiding the room altogether; it was that bad – a cluttered catastrophe.
You already know how this story goes…Bobby and I started brainstorming how on earth we could fix this space. You can see the way the ceiling drops in the pictures below; this made for a bit of difficulty in figuring out the best layout. Before long, we had it drawn up and he was off to Lowes to buy all of the pieces!
We started off by painting the room a very light beige – which helped brighten the space immensely (I highly recommend lightening the color of a very small room in order to make it feel less stuffy!) Up next were the supports for the shelves
Next up were the shelves, which were done in the same way as our laundry room, so it was pretty simple!
All of the supplies and steps we used are listed below…so if you’re not interested in the shelves, scroll down a little further!!
- Shelf Support:
- 2-in x 2-in x 8-in Square Unfinished Pine Board (use the below info to figure out how much you would need to buy)
- Measure the length of the wall you will be installing the shelf on – you’ll want to make sure you buy enough 2x2s to put along this wall
- Add 24 in (to support the depth of the shelf – 12 in on each side)
- Add 13 in for each angled support you want to add
- 1-in x 2-in x 8-in Square Unfinished Spruce Pine Board – 2 of these were used to support the shelves from floor to the top of the shelves
- Mounting to the Shelves:
- 2-1/2-in Gold Galvanized/Coated Flat Interior/Exterior Wood Screws – 1 for every shelf
- Mounting to the Shelves:
- 2-in x 2-in x 8-in Square Unfinished Pine Board (use the below info to figure out how much you would need to buy)
- Shelf:
- 1-in x 12-in x 8-in Square Unfinished Pine Board
- Use the measurement from the length of the wall you will be installing the shelf on – if you are putting in multiple, make sure to add that amount to it!)
- 1-in x 12-in x 8-in Square Unfinished Pine Board
- Hardware:
- Mounting to the Wall:
- 2-1/2-in Gold Galvanized/Coated Flat Interior/Exterior Wood Screws – 1 every 12 inches into the wall
- Attaching the Shelf to the Supports:
- 1-1/4 in Steel Nails (we used a nail gun – so go that route if you have one!!) – 1 at each point where you will attach the supports to the shelf)
- Mounting to the Wall:
- Vertical Shelf Supports:
- 1-in x 2-in x 8-in Square Unfinished Spruce Pine Board – 2 of these were used to support the shelves from floor to the top of the shelves (see photo below)
- Mounting to the Shelves
- 2-1/2-in Gold Galvanized/Coated Flat Interior/Exterior Wood Screws – 1 for every shelf
And that, as they say, was that! My shelving was done, and it was time to organize!! Which I quickly realized meant I needed some bins…and if you’ve checked out my posts on How to Make your Laundry Room Drool Worthy or How to Renovate Your Pantry – DIY Your Very Own Dream Pantry, you know my love for the Blue Striped Posprica Storage Basket Bins (11 x 11), my absolute favorite bins of all time! There is still some room for improvement, but I have no complaints with the way it turned out!!!
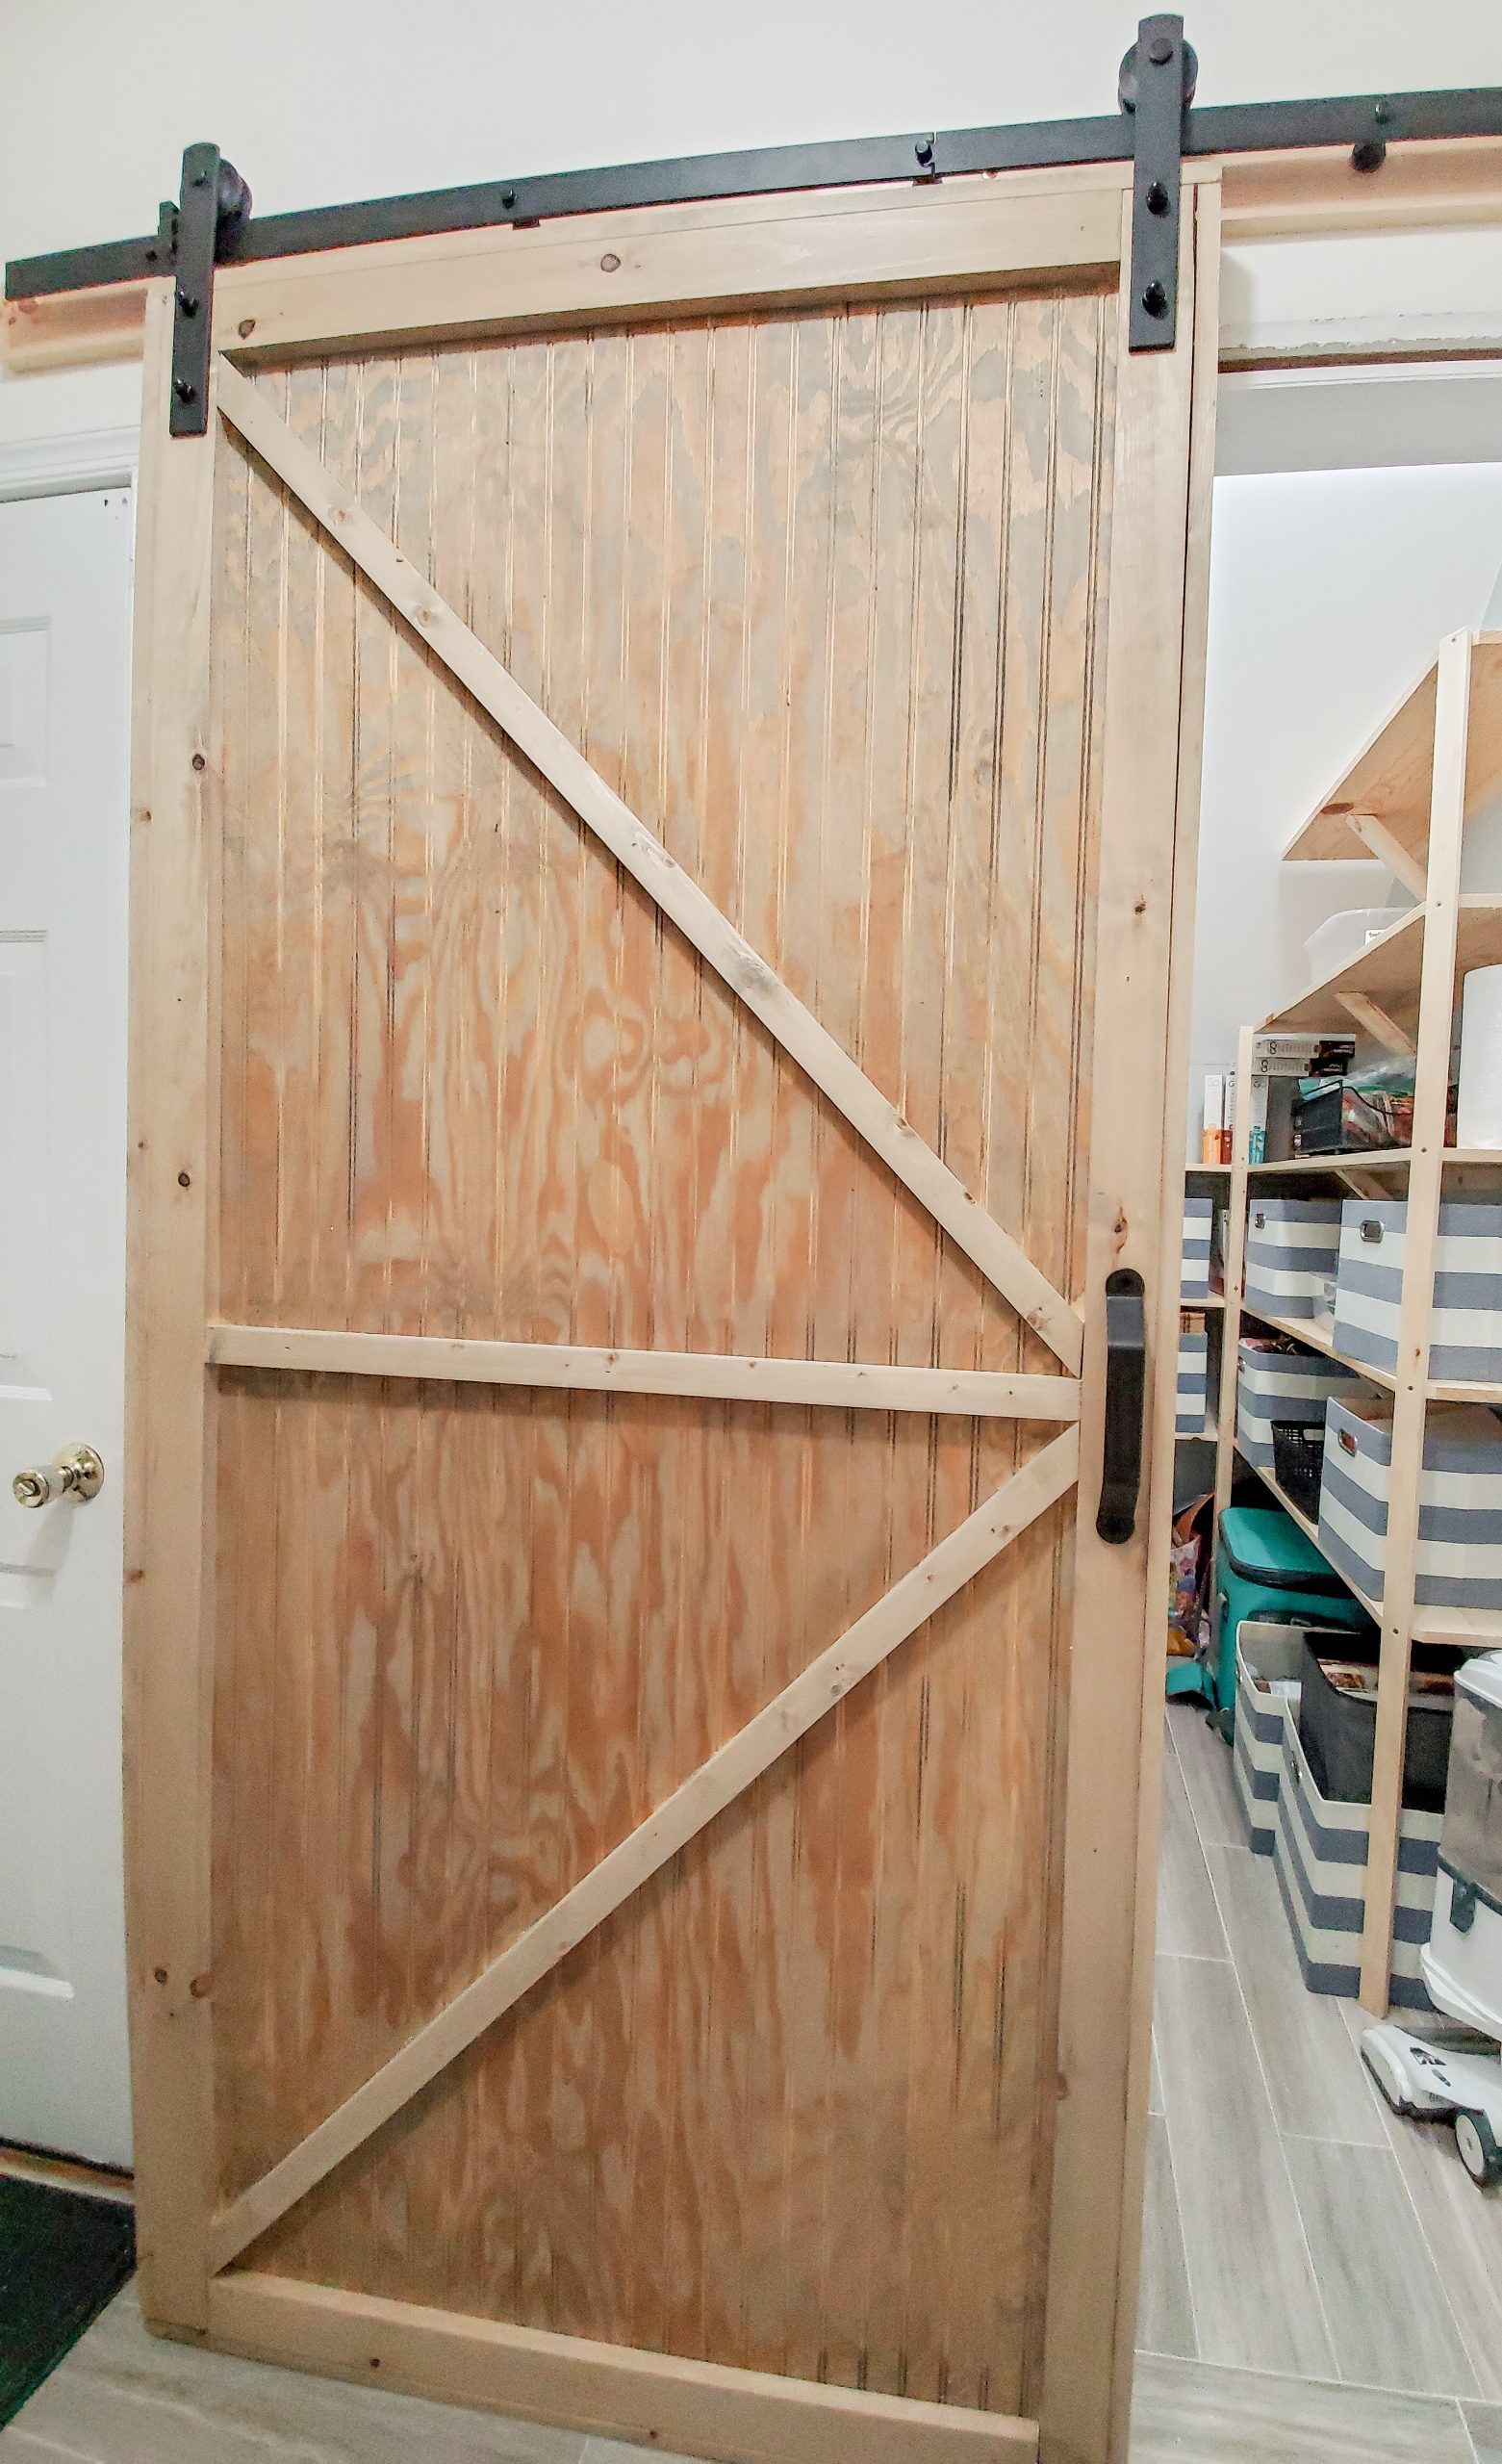
The Farmhouse Style Sliding Barn Door you see below is one of my favorite things about this room; the pantry is located within our laundry room, so we spruced it up (which you can check out using the link above) and added in this Barn door, which you can purchase in our shop!! (Local Delivery and Pick-Up only)


